Pages

Thursday, June 6, 2013

Repaint of a plastic 1:144th Scale Dollhouse 

I purchased this blue and white dollhouse on ebay a couple of years ago. They are very common and not expensive. I wasn't crazy about the color, and, as you can see, parts of the white were yellowing.
 I used acrylic craft paint, which worked well, but took several coats. Due to the fact that I was using a small brush to cut in around the windows and doors, it was difficult to get it as smooth as I would have liked. All in all, though, I think it was an improvement.

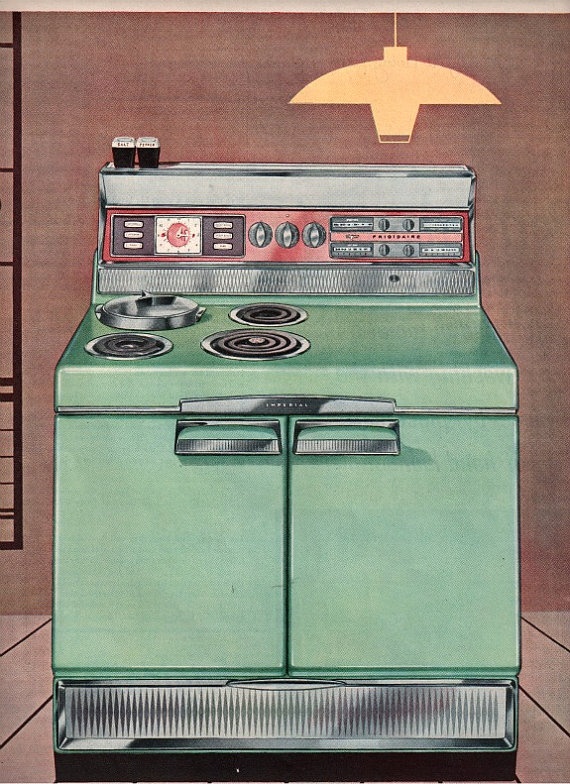
I used it as a dollhouse in a dollhouse girl's room for a listing in my etsy shop. 
Please go to "older posts" to see detailed photos of the finished kitchen makeover scene.

Saturday, June 1, 2013

I started by finding images of great 1950's and 1960's appliances. I ended up cropping the photos and printing the control panels to cover up the ones that were on the kitchen when I bought it. This is my first post, and I'm still learning, so forgive me if any of it is hard to follow. I will be posting more personal projects in the future. For miniatures I have for sale, go to https://www.etsy.com/shop/MiniaturesfromAvalon 


My first blog posts feature an inexpensive fashion doll kitchen that I decided to change to a 1960's retro kitchen. My favorite style is mid-century modern. I thought I could make some fun improvements to this fuchsia and purple kitchen for very little money.
This is the way the kitchen looked before.


Here's a simple comparison of the before and after.
I used aqua and chrome spray paint.
The chrome paint did a decent job on the details that I wanted to look like stainless steel.

 I taped off everything that wasn't going to be aqua and painted that first. After about 24 hours, I taped off everything but the fridge handle, sink, and stove pieces, and sprayed the silver. The counter top is painted by hand. (More on that below)
Adding the decorative "tile" on the backsplash:      
 The back splash area of the sink and stove sections had a raised tile pattern in white when I purchased them. In order to add some color and some mid-century modern detail, I printed off sections of a photo of 1960's wallpaper. I made a rubbing of the back splash, then cut out the individual tiles and glued them on with Mod Podge.


 After letting them dry overnight, I added a coat of varnish.
                                                                                     
Adding the "chrome" details and covering up design elements that weren't mid-century modern style.


To add some "metal" detail, I used a chrome looking scrap book paper. One common detail on the appliances of the 50's and 60's was a lot of decorative metal trim, often with a pattern. To add pattern to the paper, I used a pine cube with rounded edges, and made a 'rubbing' on the paper. Yes, that is the DVR in my craft room. I'm pretty sure this isn't the most conventional use for a DVR, but crafters are nothing if not creative, and as a mom, I've learned to make use of what's available in a pinch. ;)

I made the floor with paint chips that I cut into 2" x 2" squares. I glued them to a large piece of cardboard.

 After getting all of squares glued, I used black and white acrylic paint and a tooth brush to spatter them.
 The finished floor.
 Some photos of vintage linoleum I used for inspiration.


I used Crayola Model Magic air-dry clay because the cordless phone and phone rest wouldn't come off of the back splash without a fight. I was afraid if I tried any harder, I'd crack the entire back piece! My plan was to cover the relatively flat plastic phone with clay and build a retro looking handset. The problem with this particular clay is that I should have read all of the information on the package prior to using it for this project. It turns out that the interpretation of  "air dry" is subjective. After waiting for it to dry overnight, I discovered that it was still soft. After reading the package (better late than never), I noted that it says that it stays soft and can be used over and over! Yay! Only, not so much yay in this case. I'm not sure what air dry really means on this product, but the phone is still soft after two weeks!  
 Using wire and pony beads, I made a frame for the handset.
I used white covered floral wire twisted around a toothpick for the cord. I'm a bit underwhelmed by the look. I just couldn't get the handset right. It looks better than leaving the cordless (and not vintage) phone, but I'd like to go back at some point and improve the phone.

Inspiration for the phone re-do.