Showing posts with label DIY Barbie kitchen update. Show all posts
Showing posts with label DIY Barbie kitchen update. Show all posts
Saturday, December 27, 2014
Creating a Vintage style Barbie kitchen from an inexpensive purchased one
I bought a very inexpensive off-brand fashion doll kitchen several years ago when my daughters played with Barbies. I've seen some wonderful re-dos of plastic fashion doll furniture lately, and decided to try it. The kitchen was white with bright purple and hot pink elements. I love mid-century modern and vintage things from the 1950's and 1960's, so that was my goal.

Thursday, June 6, 2013

Saturday, June 1, 2013
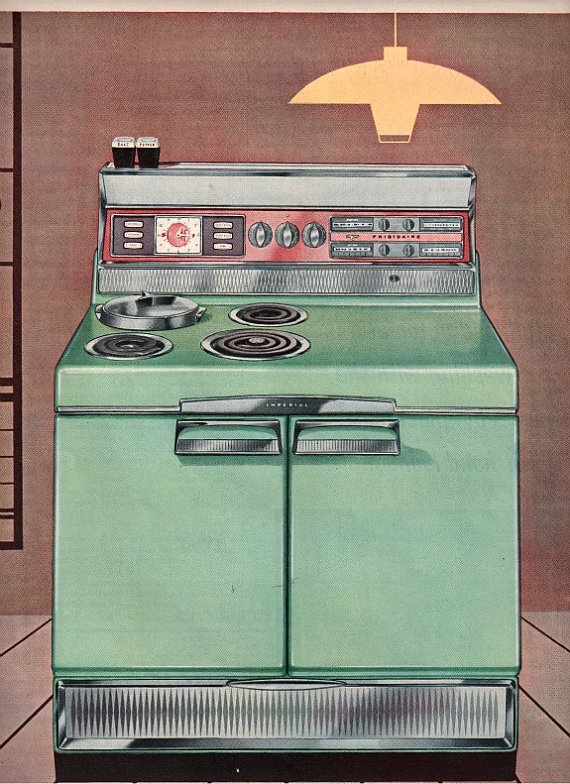
I started by finding images of great 1950's and 1960's appliances. I ended up cropping the photos and printing the control panels to cover up the ones that were on the kitchen when I bought it. This is my first post, and I'm still learning, so forgive me if any of it is hard to follow. I will be posting more personal projects in the future. For miniatures I have for sale, go to https://www.etsy.com/shop/MiniaturesfromAvalon 


This is the way the kitchen looked before.


Adding the decorative "tile" on the backsplash: 
The back splash area of the sink and stove sections had a raised tile pattern in white when I purchased them. In order to add some color and some mid-century modern detail, I printed off sections of a photo of 1960's wallpaper. I made a rubbing of the back splash, then cut out the individual tiles and glued them on with Mod Podge.


I used Crayola Model Magic air-dry clay because the cordless phone and phone rest wouldn't come off of the back splash without a fight. I was afraid if I tried any harder, I'd crack the entire back piece! My plan was to cover the relatively flat plastic phone with clay and build a retro looking handset. The problem with this particular clay is that I should have read all of the information on the package prior to using it for this project. It turns out that the interpretation of "air dry" is subjective. After waiting for it to dry overnight, I discovered that it was still soft. After reading the package (better late than never), I noted that it says that it stays soft and can be used over and over! Yay! Only, not so much yay in this case. I'm not sure what air dry really means on this product, but the phone is still soft after two weeks! 
Using wire and pony beads, I made a frame for the handset.


Inspiration for the phone re-do.

Friday, May 31, 2013
The counter tops and additional hand-built counter extension.

For the extension, I used balsa wood. This is basically a temporary scene. For a permanent installation in a dollhouse or room box, I would use solid pine or maple. I was lucky to find acrylic craft paint the same shade of aqua as the spray paint I used on the body of the purchased kitchen. 


For the bar stool, I cut a 3" x 3" square. I used balsa wood since this is essentially a temporary project. For a permanent project, I would use regular pine or maple. An easy trick for spacing the legs for a chair or table is to use a small square. In this case I used a 1/2" (approx. 1 cm) wood craft square. Trace the square in each corner of the bottom of your furniture, then use a ruler to make an X in the square, and you'll have perfect placement of the furniture legs. 


Subscribe to:
Posts (Atom)